The Simple Kitchen: Dried Apples
Golden autumn leaves are parading their beauty on these rare warm November days we are enjoying in Ohio. Yes, the holidays are coming, but I’m not ready to let go of the pleasures of fall just yet. Around here we are lovers of apples-Honey Crisp for eating, 20 oz. Pippins for apple pie, and Cortlands for applesauce. But after finding a large bag of Granny Smith apples at a farmers market a few days ago, it is time to make one of our favorite fall snacks-dried apple rings. With cold weather on the way, spending an afternoon making these dried apple rings sounds just about perfect. The process is not fussy and the sweet-tart apple rings are a tasty and healthy snack that stores well.
While several varieties of apples can be used for making dried apple rings, we have found Granny Smith to be our favorite choice. Preparing the Granny Smith apples for drying does not take long and the actual drying time for these apple rings comes in around six hours. So this is an ideal Saturday afternoon family activity!
INGREDIENTS
The ingredient list for this recipe is short and sweet:
- 8-10 Granny Smith apples depending on their size. (I find one large apple per dehydrator tray works well.)
- 2 cups water
- 1 cup sugar
Combine the sugar and water over low heat until the sugar is dissolved. This makes a slightly sweet glaze that enhances both the tart flavor and the appearance of the dried apple rings.
SUPPLIES
A few simple kitchen utensils are needed, most of which you probably already have on hand:
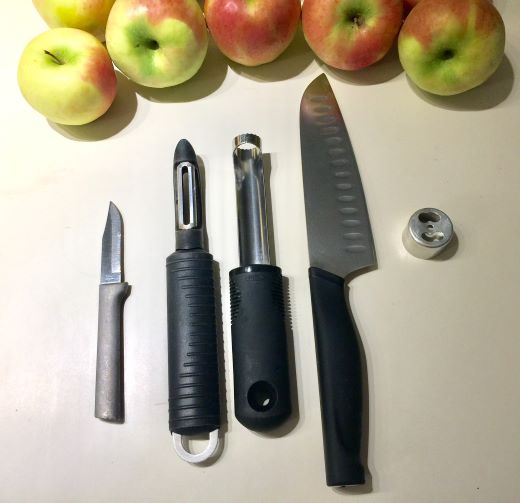
- a paring knife (or a peeler, your preference)
- an apple corer
- a larger sharp knife
- the center ring of a donut cutter (optional)
- tongs for dipping, or a large fork
- a dehydrator (or use a low-temperature oven)
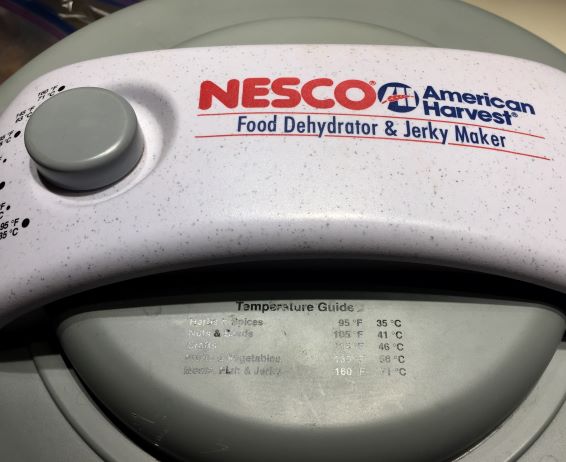 I love my Nesco dehydrator-I have had it for several years. However, you do not need to own a dehydrator to make dried apples. You can make these in the oven as well. If you plan to dry your apples in a low-temperature oven, you will need some baking sheets instead. It is easy to find instructions online for this method of dehydrating.
INSTRUCTIONS
Follow these easy steps to prepare the apples: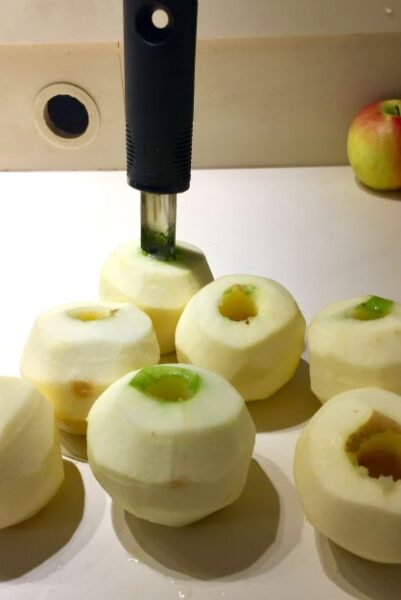
- Peel the apples whole
- Press the corer through each apple to remove the core
- Slice across the whole apple with a large knife, making sure the thickness of the apple slices are fairly consistent, about 1/4 inch thick. This will result in an even drying time for the entire batch of apple rings.
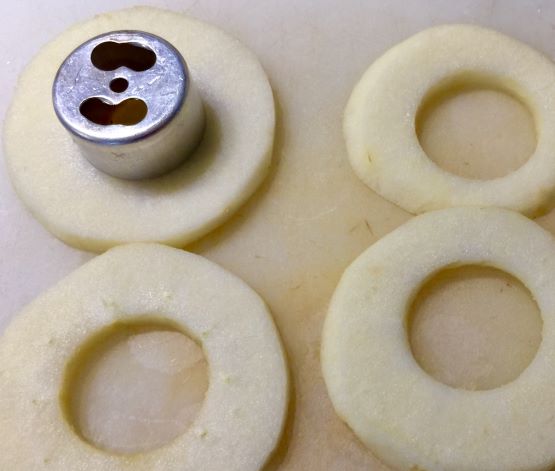
- Using the center ring of the donut cutter, press it down over the hole in each slice where the apple core has
 been removed. This will remove any leftover fibrous materials from the core, and it will also provide a uniform center to each apple ring, resulting in an eye-appealing look for this delicious snack. This is the perfect job for a child to help with!
 - Dip each apple ring into the prepared sugar syrup to lightly coat each apple ring, allowing it to drain briefly to minimize sugar syrup dripping in the dehydrator.
- Place the apple rings on the each tray of the dehydrator, arranging the rings so that there is some air space between them. I can typically fit 8-10 rings on each tray, depending on their size.
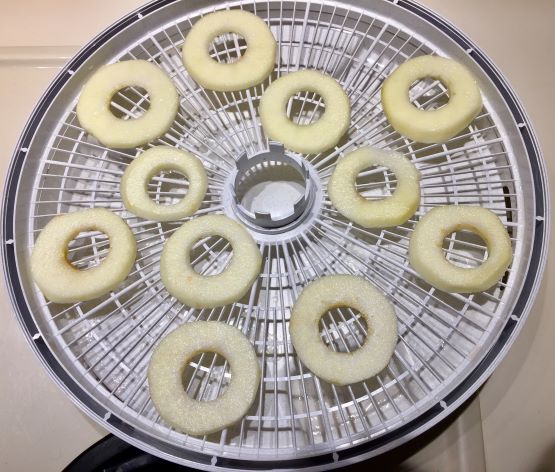 Once you have filled all the trays and have the dehydrator ready to go, set the temperature for about 140 degrees, and set a timer for six hours. Start checking the apple rings at five hours to make sure they are not getting too dry. Sometimes the apples need seven hours of drying time. You can adjust the time depending on how chewy or crispy you like dried apples.
Consistency in texture and moisture content is key to long term storage of dried apple rings. We prefer a bit more crispy texture, though not brittle. Be sure to check each apple ring for doneness, keeping in mind that if too much moisture remains in even one apple ring, it could reintroduce a dampness into all the apple rings stored together. If I find a soft spot in an apple ring, I either dry it a little longer or we eat it fresh (usually the second option!)
STORAGE
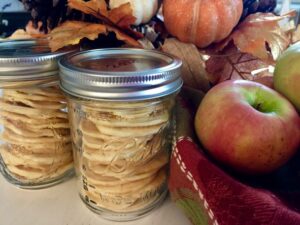
My favorite way to store these is to stack the rings in wide-mouth pint canning jars. They fit perfectly, look amazing and maintain a long shelf life when stored with the canning lid and band hand-tightened on the jar. I have also tried vacuum-packing these for extra long-term storage. While this has been an acceptable way to store apple rings, sometimes the apple rings are difficult to separate after being pressed together tightly in the vacuum-sealed bag.
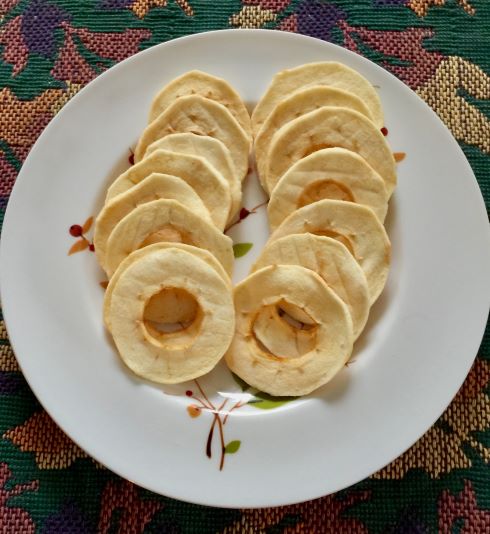 Not only are these apple rings a healthy snack, but compared to the cost of pre-packaged apple rings from the store, these save money and taste better! If you decide to make these amazing dried apple rings, send me a quick note via my contact page and let me know how it went – or even send me a picture. I would love to hear about it!
Debbie

Welcome!
Hello! I’m Debbie — Lover of Jesus, Pastor’s Wife, Mom, Encourager, Hobby Gardener and passionate about the simple pleasures of life.
Search the Blog
Archives
New Release


 been removed. This will remove any leftover fibrous materials from the core, and it will also provide a uniform center to each apple ring, resulting in an eye-appealing look for this delicious snack. This is the perfect job for a child to help with!